How to Disassemble Apple Watch in 10 Minutes
After waiting for 8 months, we can finally get our hands on the Apple Watch. We are very curious about what's inside the most anticipated gadget this year. Here we show you how to disassemble Apple Watch step by step.
Tools needed:
Plastic spudger
A knife
Tweezers
Customized screwdriver
Hair drier
Case opening tool
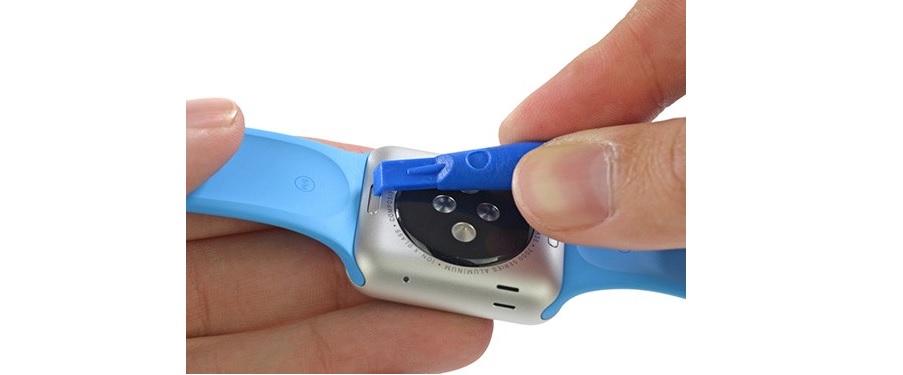
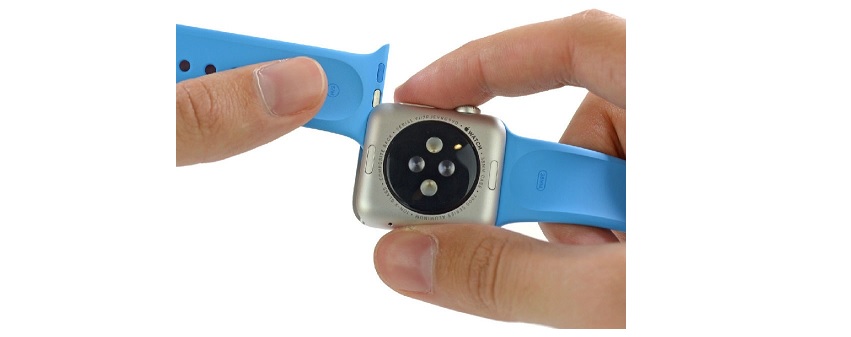
Step 1: Remove the watch band.
-
Turn over the Apple Watch to the backside. You'll notice two buttons on the sides.
-
Press the buttons with your finger or a spudger, while you press the buttons down slide the watchbands out of the Apple Watch.
(Pics from iFixit)
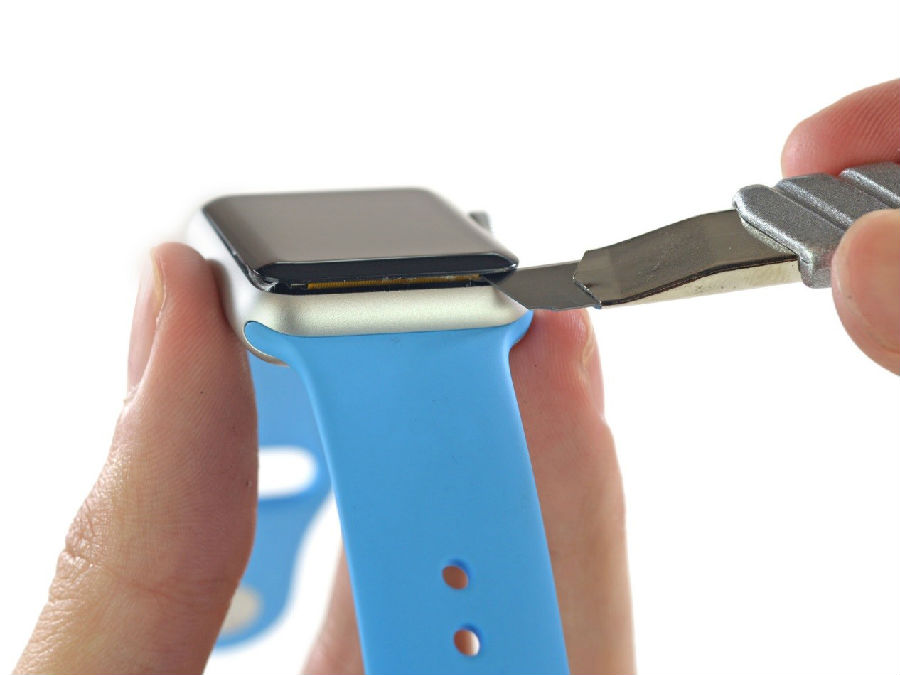
Step 2: Remove the screen.
-
Lay the gadget on your desk or your workbench, then use a hair drier (or heat gun) to heat up the watch.
-
Notice: the watch has a smaller body than phones and the battery inside is very easy damaged by heat. Also due to the size everything is packed in closer so apply minimal heat to prevent damage to the inner components.
-
The watch body is made from Aluminum and other metals, so device will heat up very quickly. We recommend heating for no longer than 30 seconds.
-
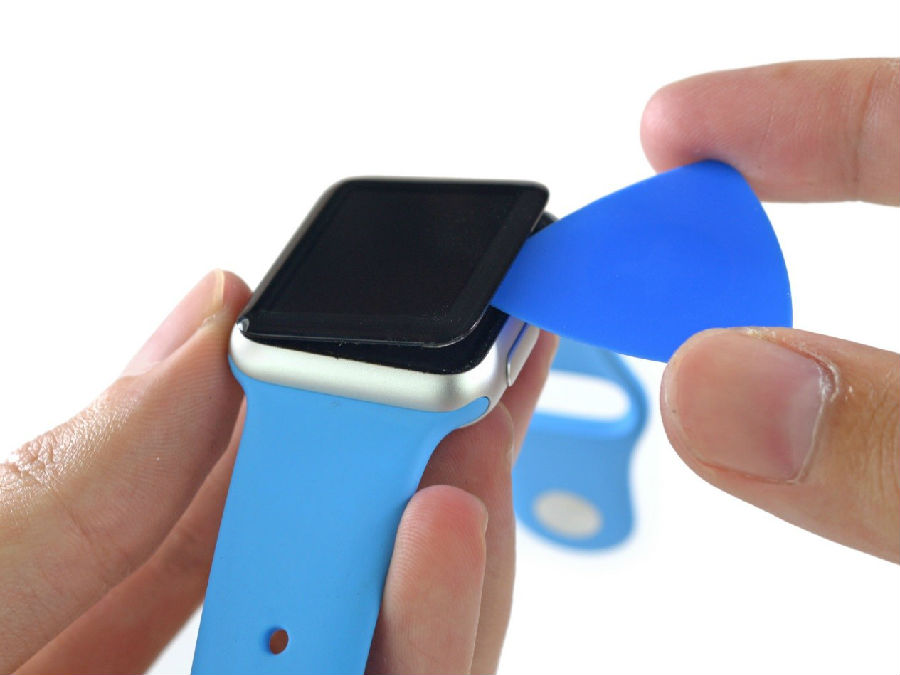
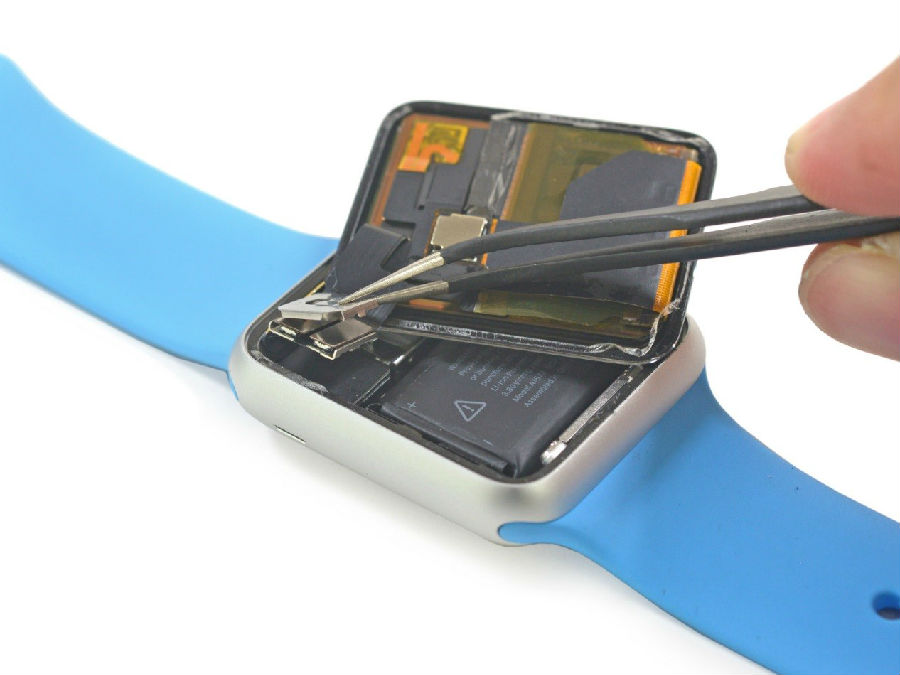
After heating up the Apple Watch, insert a knife into the gap between the screen and the body, then use the case opening tool to pry it up little by little very gently. Take your time and go slowly. The screen will come apart, but it will take some work.
-
Notice: You should pry up the screen starting from the bottom, since the Apple Watch's LCD Screen Assembly flex cable is located at the top.
-
Use tweezers to remove the metal bracket
-
Pry up the 2 connectors. Notice: As the connectors are not set, you will need to press down one connector while you are prying up the other to prevent damage to the rest of the device.
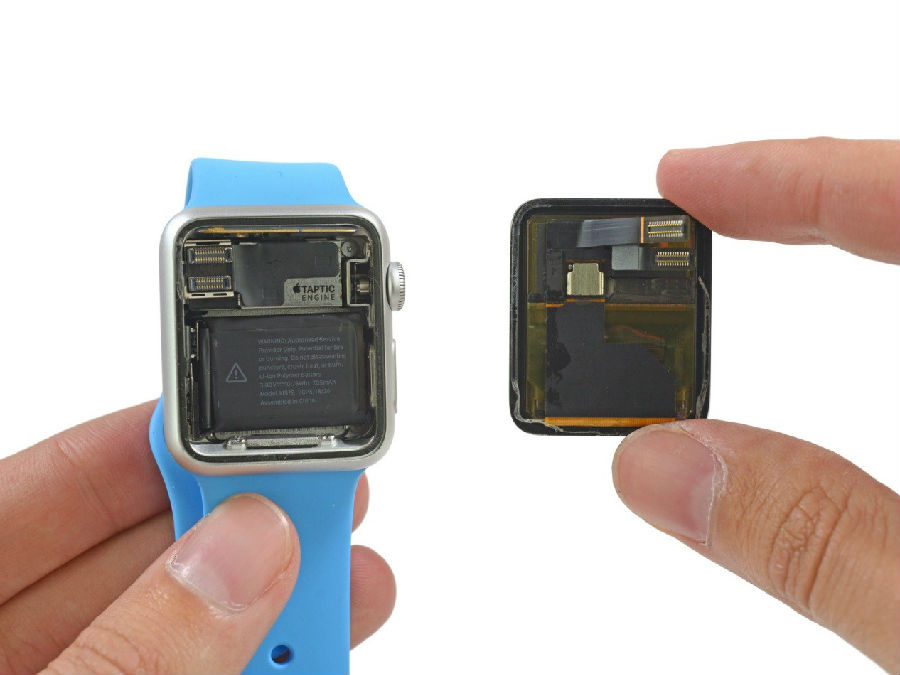
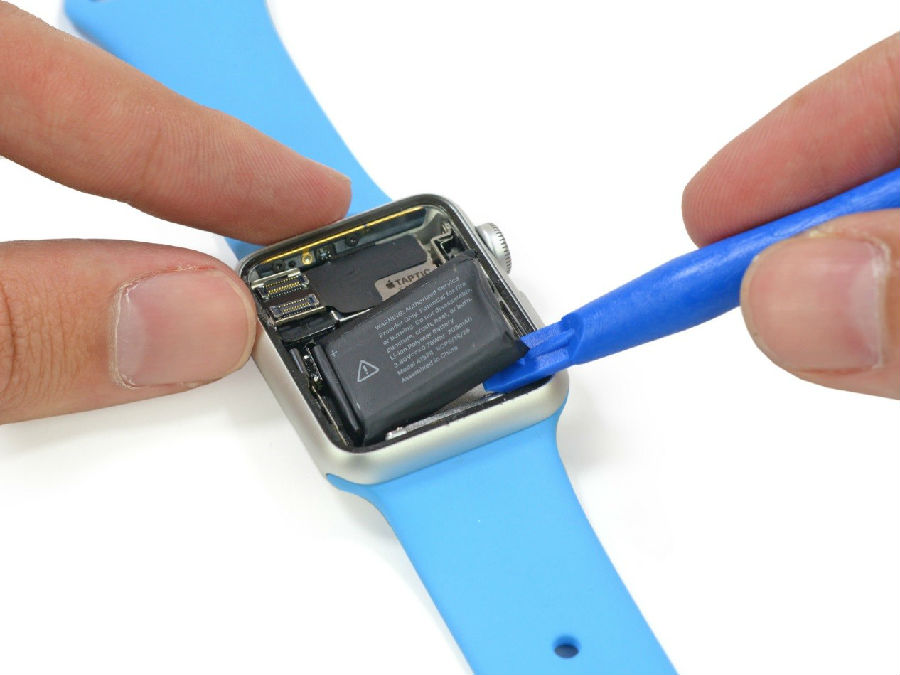
Step 3: Remove the battery.
-
After you have removed the screen, the battery and the haptic motor are right under it.
-
The battery is not set with a strong adhesive making it easy to remove, but please be careful!
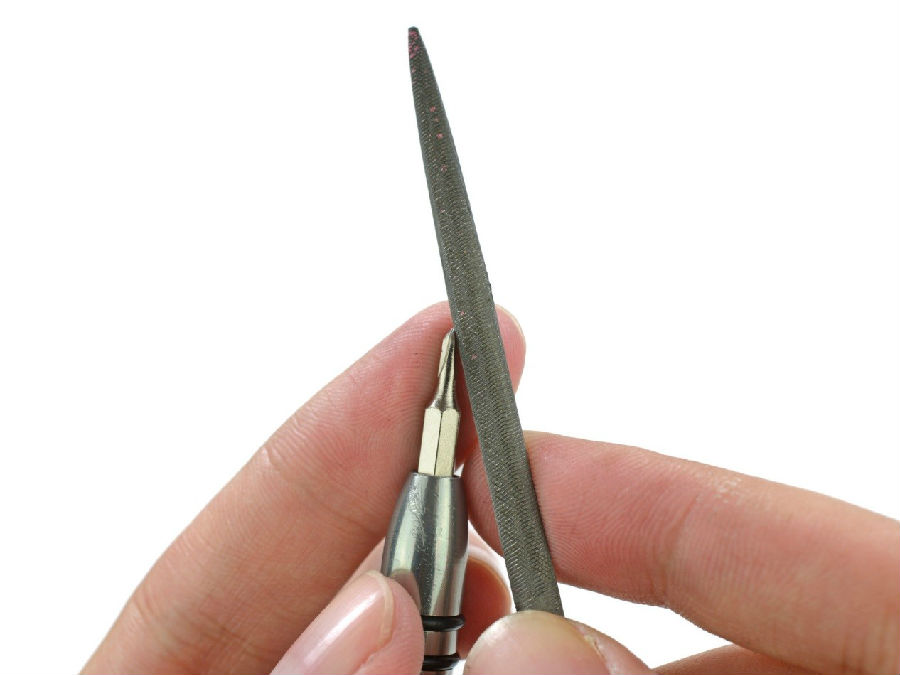
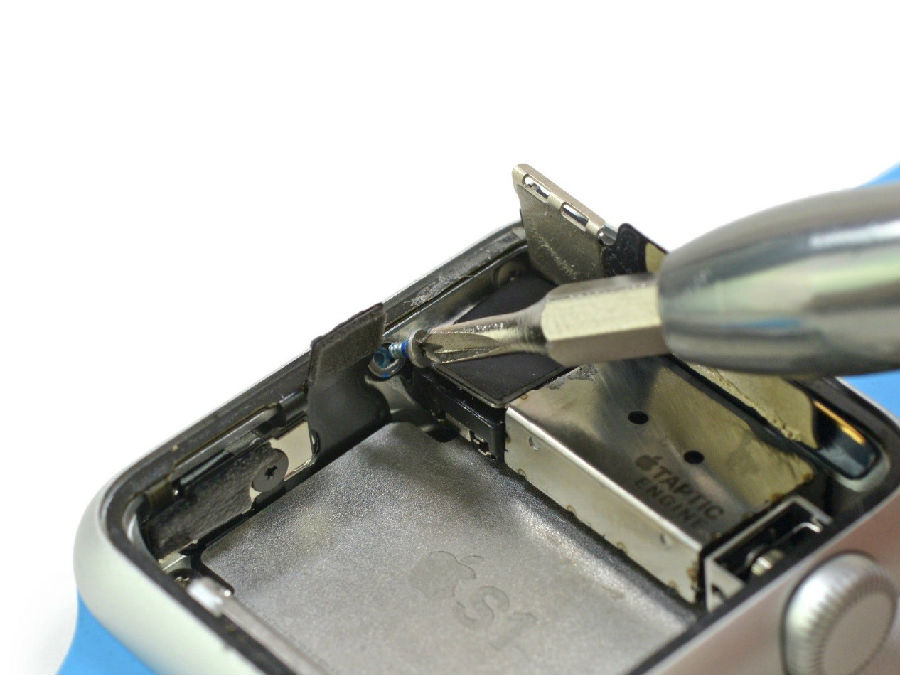
Step 4: Remove the Haptic Motor.
-
Apple Watch use the tiniest Tri-wing screws we’ve ever see. We had no suitable tools to remove the screws, so we had to use a file to shape a PH00 screwdriver to fit. Fortunately, after losing 2 screwdrivers, we were able to make a suitable tool. Undo all 3 screws.
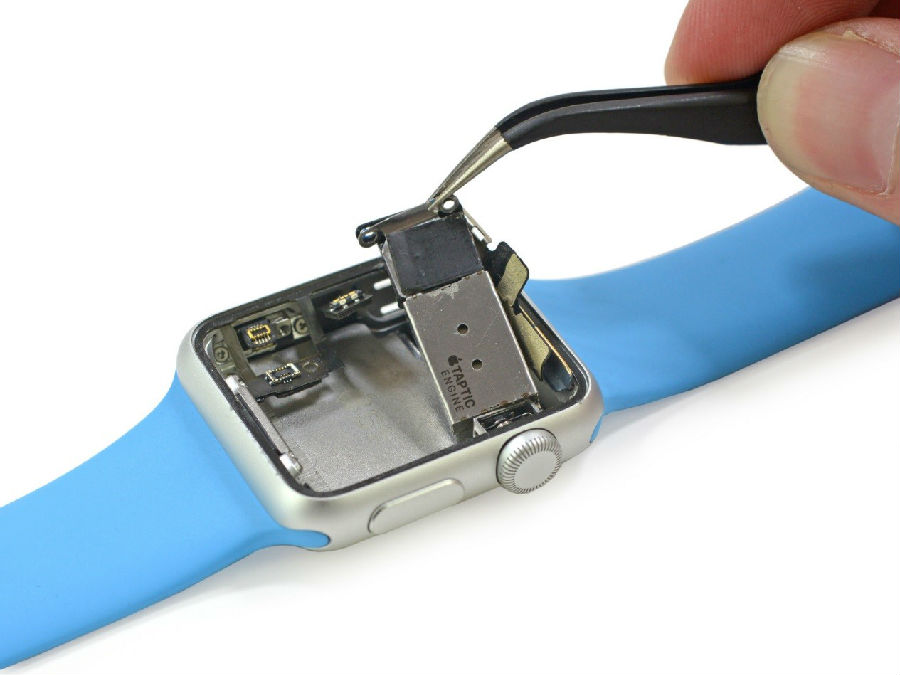
-
Take the haptic motor out with your tweezers.
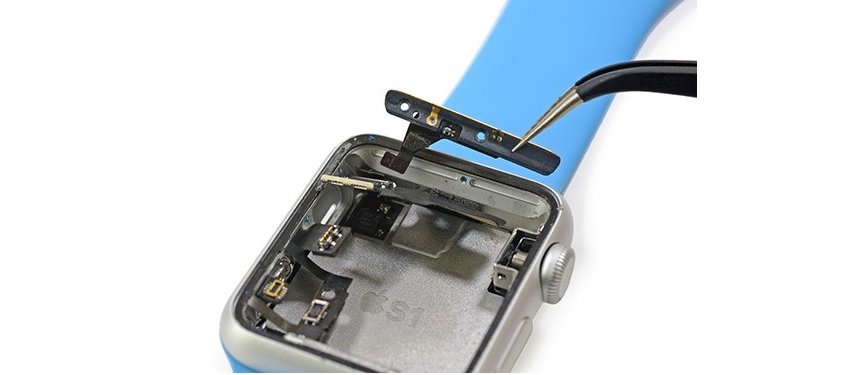
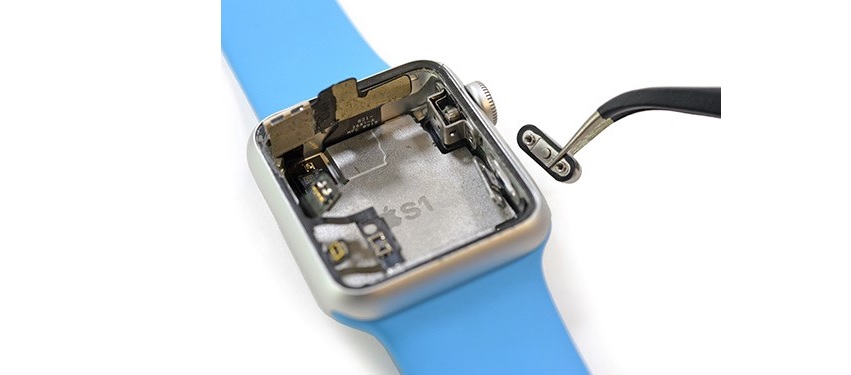
Step 5: Remove the antenna assembly.
-
Undo the 2 black screws in the top.
-
Take out the antenna assembly carefully.
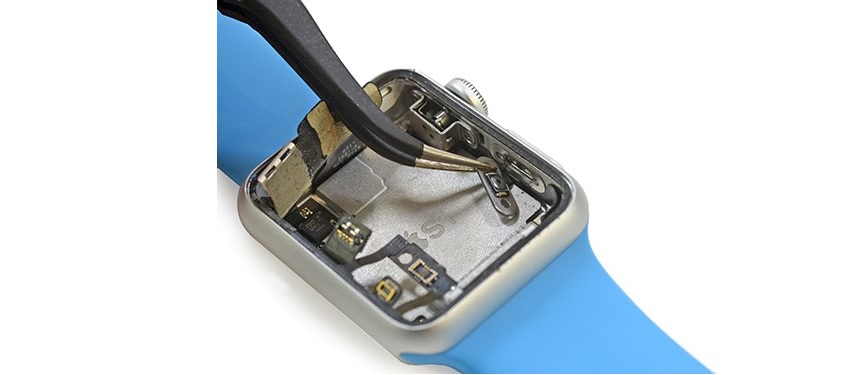
Step 6: Release the side button.
-
Undo the 2 screws holding the side button.
-
Take out the mechanical button with your tweezers.
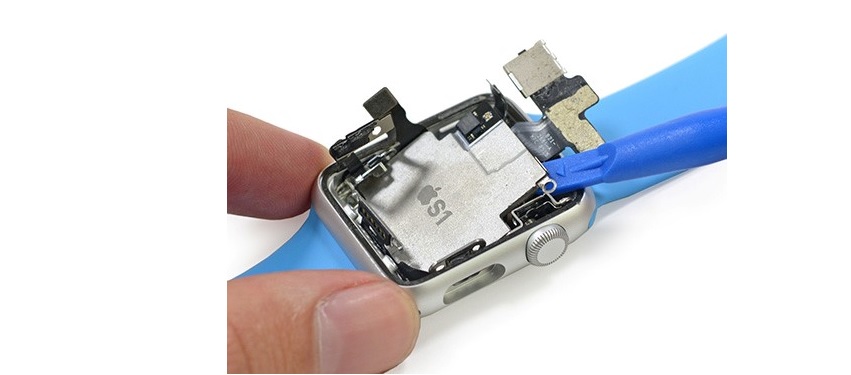
Step 7: Remove the Digital Crown bracket and the S1 SIP.
-
Undo the 2 screws in the bracket.
-
Remove the bracket which is the last obstacle keeping us from the S1 SIP.
-
Pry up the S1 SIP with a plastic spudger.
-
Notice: there are 2 strings connected with a coil of wire. If you don’t want to replace the part, you’d better not cut them off and lay the S1 SIP aside.

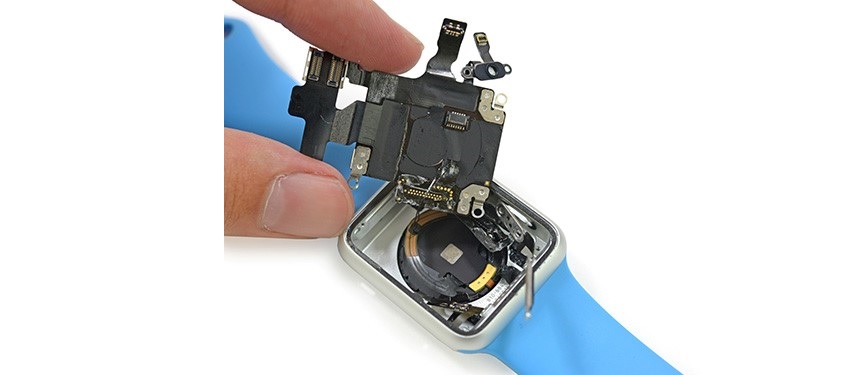
Step 8: Pull out the flex cable attached to the right side.
-
Undo 2 screws in the bottom, then peel off the flex cable with contacts.
-
Pull out the flex cable attached to the watch case in the right side.
-
Notice: the flex cable under the Digital Crown has little room to move. Handle carefully.
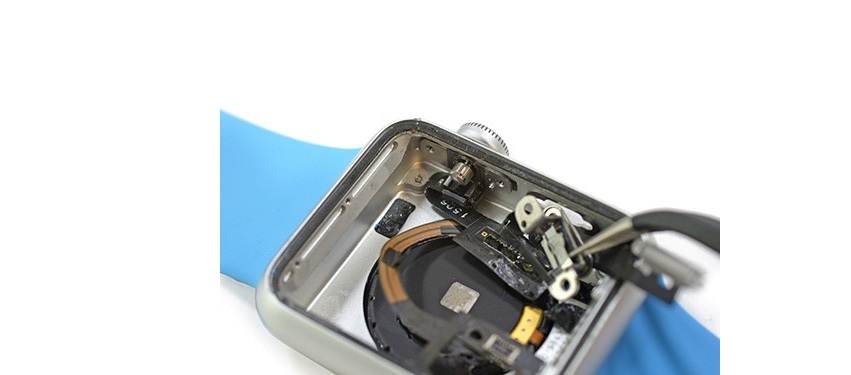
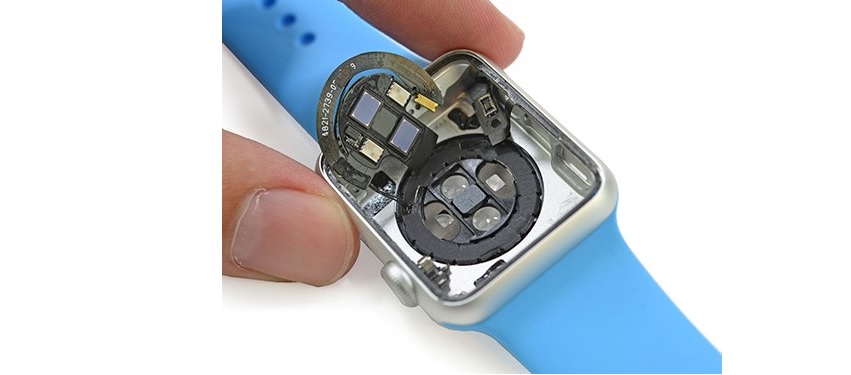
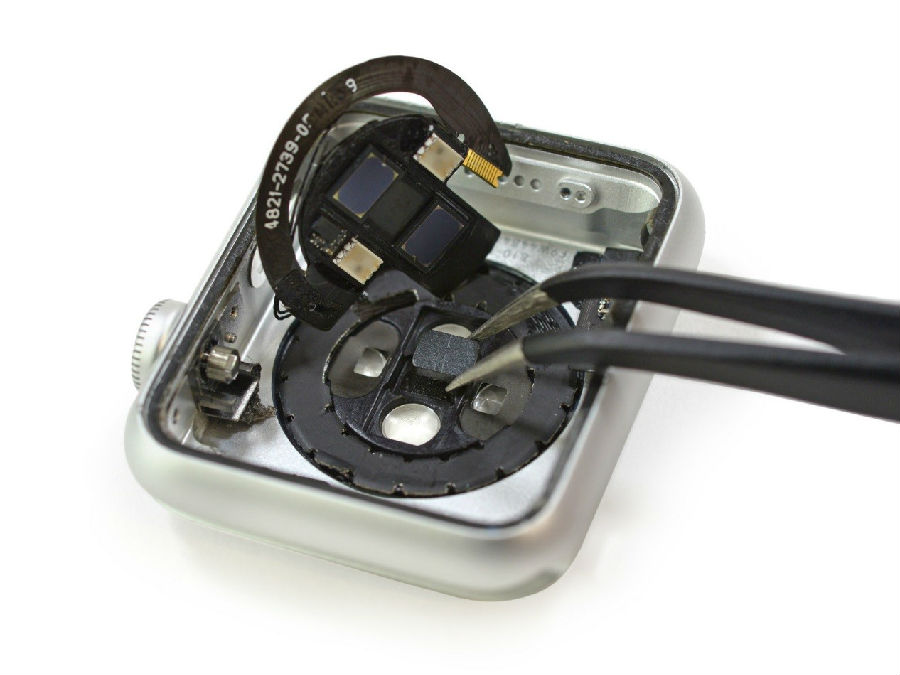
Step 9: Remove the wire coil.
-
Scraping the bottom of the watch case, you need to remove the remaining pulse sensor sensor and lenses.
If you have any questions about the Apple Watch, feel free to comment below to ask, or you can contact us by email: sales@xicart.com. We will reply to you ASAP.
Global Cell Phone Repair Parts & Machines Wholesale Online Store | Welcome to contact us!
Email: sales@xicart.com | Tel & Whatsapp: +86 13528895042 | Skype: sales.xicart
Website: www.xicart.com